
Are you tired of copying pictures using carbon copy paper, tracing paper, or using the Grid method, etc.?
It is high time you know how to draw without any tools, which is what Freehand drawing is all about. I was initially unsure of drawing at least close to accurately the picture from the reference image.
I was amazed at how artists freely work from their references or live environments without tools. The way they drew the proportions, perspective, and several aspects of the sketch amazed me. It looks like the artists have all in their minds.
Fast-forward to today, and I am confident I can draw what I see accurately. It was not an overnight miracle; I gained this proficiency through regular practice and perseverance, which I want to share.
In this post, I will share my experience and everything I know about this subject.
Before jumping into in-depth, let us also understand some basic things about this topic.
Table of Contents
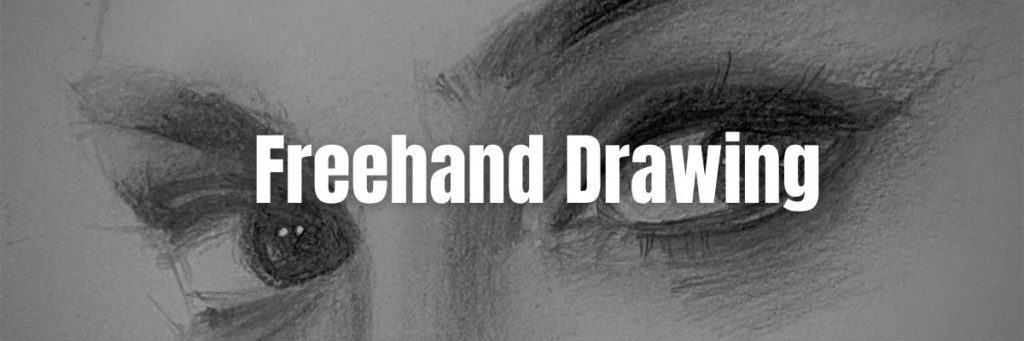
What Does Freehand Drawing Mean?
Freehand drawing is a type of drawing where the artist uses their hands and fingers to create the image instead of using a tool such as a pen or a pencil. It can be used for both artistic and technical purposes.
A freehand artist expresses his creativity on paper using only his hand without guiding tools, and this style of artwork is called Freehand drawing. The guiding tool is in his head, well visually measured and pictured.
He may or may not have reference material. Everything else an Artist does is through his confidence and knowledge, which he has gained over the years.
The following are essential for this type of drawing: –
- Artist uses only his hand
- Artist uses his observation skill to recreate the artwork
- Artists do not use any technical, mechanical, or geometrical equipment.
- Artist gains ability by practicing over time.
We can also say this is synonymous with sketching, as the Artist does not use any geometric gear.

Which Freehand Drawing Tools to Use?
Here, we refer to traditional drawings, not pictures created using apps or computers.
Some of the basic materials which are required are:
- Pencils with various categories
- Eraser
- Sharpener
- Paper
What are the Freehand Drawing Tips for Beginners?
Use Simple Reference Pictures
If you are a beginner, I suggest drawing using a reference picture. The reference picture should be simple, with a clear outline showing light and shade.
An apparent reference will make your picture process easy and meaningful. Study and understand the picture.
Start your Drawing from Top to Bottom and from Left to Right
Starting from left to right and top to bottom can help you to avoid smudging.
You should continuously develop a habit of creating your artwork like writing, top to bottom and from left to rig t. It will help you to avoid your hand touching the graphite and then spoiling your sketch.
Remember, every small habit adds value to your artistic skill.
Use a Hard Pencil to Create Outlines
Use a hard pencil like 2H or H when working on shapes. It will help you to erase the pencil impression if you make any mistakes in your artwork.
Trust me; you will not draw a perfect line at the first shot unless you are a profession l. It will take time.
So, till that, you will draw, erase, recreate, refine, modify, and do everything so that you are convinced you got what you want. Your lines should be easily erasable without damaging the paper.
Always remember there is nothing wrong with using an eraser.

Use Simple Lines and Start From a Larger Shape
Every image is a collection of multiple lines and shapes. Study your reference picture carefully and dissect the concept into simple lines and shapes.
Find the most prominent shape and draw that first to capture the main object, then move to smaller bodies. Do not overcomplicate your figures.
For a beginner, you must capture the essence of the drawing. Observe and grasp the basic shapes and lines from your reference picture.
Create Values from Bright to Dark
This value creation from bright to darker areas is a general pencil drawing tip and not unique to this kind of drawing.
Always create shading from light to dark and adopt a layered approach. Creating values from lighter to darker areas will help you gauge the value correctly.
If you find it challenging to evaluate the value, I suggest you use the value scale.
Ways to Identify your Mistakes
- Give some breaks, and do not draw continuous y. After the break, you can have a fresh look when you see the drawing. If there are any mistakes, then they will be easily identifiable.
- See your drawing from different distances, like half a meter or one meter, tilt your head at different angles, and see if you find it satisfactory. Sometimes, when we draw close, the errors become invisible and look apparent from a distance.
- Take a photograph upside down and see if the shapes and values look rig t. The image is smaller when you take a photo, showing any mistakes you have made.
Final Touch and Fine-tuning
I spend the maximum amount of time finetuning and making final changes to my drawing. This finetuning will elevates the look of your artwork.
The thin line reflection on the object side of the hair strand that falls on the face creates realism.
Practice Freehand Drawing Daily
The only way to master any art is to practice it consistently without breaks.
In the beginning, this may look like a difficult habit to develop, but it will soon become part of your routine when you do it regularly.
Initially, it may not look like you are making any progress, but trust me, you will soon discover the improvements.
So, practice daily.
What is the Difference between Freehand Drawing and Mechanical Drawing?
Freehand Drawing
The creator does not use technical, mechanical, or geometrical assistance to create a drawing. Materials used in this type of drawing are pencils, erasers, markers, pastels, etc.
This type of drawing is created by artists where accuracy and measurement are not necessary.
Portraits, figure drawings, landscapes, etc., are some pictures done using freehand.
Mechanical Drawing

Mechanical or technical drawing is where the professional engineer uses mechanical instruments to create a picture.
The equipment used for this type of drawing is scales and precision instruments.
Mechanical drawing is done by technical experts where accuracy is essential. Professional spends more time on the details.
Buildings, stadiums, Car, designing, etc., are areas where mechanical drawings are used.
Why is Freehand Drawing Important?
- This drawing improves your creative skill.
- You do not need to depend on any instrument; just by having a pencil alone, you can create fantastic artwork.
- It helps you draw fast, be it a line, circle, or shape.
- Practice in this type of drawing helps you to improve your visual measurements and recreate them on paper.
- This type of drawing can help you to create your art style
- Your non-dependency on any measurement equipment can drastically improve your drawing skill.
What are the Different Types of Freehand Drawing?
There are many types of freehand drawing, and some of them are listed below:
- Graffiti Art – This type of drawing uses spray paints and mainly covers controversial topics. Graffiti art is typically words or figures, usually in bright colo s. We can also call this type of drawings street drawing.
- Gesture Drawing – Gesture drawings are quick drawings done, usually to capture the essence of the motion. These are quick drawings and typically take 5 to 10 minutes to dr w. Many of these drawings are done outdoors.
- Contour Drawing – Contour drawings are also called outline drawings. This kind of drawing is created using one line without lifting the pen or pencil from the paper until the drawing is completed.
- Thumbnail Sketches – Thumbnail sketches are rough, and quick drawings are drawn smaller to convey or check an idea.
All the above drawings are done without instruments like a Scale, Compass, or supporting device.
Freehand Drawing Examples
I drew a girl below without any measurements.
I spent just 15 minutes creating this drawing. Of course, I had to use an eraser several times to correct the right side of her eyes, but that was fine. I can capture the essence of the drawing.
I took this less time because I already knew the face proportions and figure drawing, so that part was easy. In addition, several years of practice make it easy for me to create this drawing.

Hand and eye coordination are vital in this kind of drawing. People who have drawing as a hobby do these types of pictures.
If you can draw accurately without supporting instruments like tracing tablets, tracing papers, or drawing grids, that means you are moving in the right direction of becoming a pro.
It will take time, and it will take practice, patience, and improving your skills. Trust me, and it will go a long way.
Keep drawing.
Frequently Asked Questions
-
How do I improve my freehand drawing skills?
Tips that may help you improve your freehand drawing skills include regularly practicing, studying the work of other artists, and taking classes or workshops from experienced artists. Experiment with different mediums and techniques; it is essential to be patient and keep practicing even if you make mistakes.
-
What are some tips for shading in freehand drawings?
Some tips for shading in freehand drawings include using a variety of pencils with different lead types and sizes, experimenting with hatching and crosshatching techniques, and practicing regularly. It is also essential to pay attention to the direction of the light source when shading.
-
How can I make my freehand drawings more realistic?
To make your freehand drawings more realistic, try studying the work of other artists and regularly practicing also, attention to details such as light, shadows, and highlights. If you are having trouble getting the proportions of an object right, use a grid or a ruler to help you.
-
How do I add value to my freehand drawing?
Value is the lightness or darkness of a color. To add value to your freehand drawing, use a variety of pencils with different lead types and sizes. Experiment with hatching and crosshatching techniques. Also, pay attention to the direction of the light source when shading.
-
What are some tips for using lines in freehand drawings?
Lines are an essential element of freehand drawing. To use lines effectively, vary the thickness, length, and direction of the lines. Pay attention to the negative space around the objects in your drawing, and use lines to create movement and rhythm. Also, experiment with mediums such as pen, charcoal, or pastels.